Soundstage
Jordan McDonald
2020
Design - Laser-cut MDF wood
This university project involved revealing the unseen. I became interested in trying to express aspects of the natural world that we normally cannot see. Particularly of interest to me was sound, and how it can be used to inform or shape design. I began to research the use of sound in art, particularly the shape of soundwaves, the most common method of visualising sound. I found several other examples of soundwaves being used as a basis for artwork, particularly of landscapes.
Conceptulisation
I spent some time carefully considering what I wanted to present in my work. I wanted to reveal something unseen about an environment, I wanted to represent sound visually.
I set myself a brief. Represent the soundscape of an environment in such a way that it mirrors the environment itself.
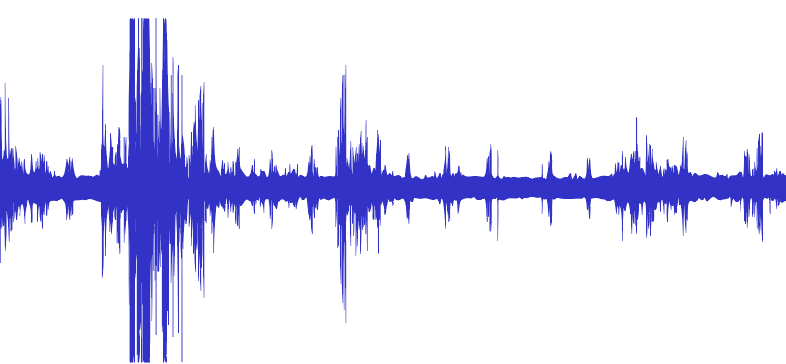
In terms of the environment, I had to use what I had at hand, Canberra itself. I went for a walk into the heart of Black Mountain, near the CSIRO compound, and found a secluded area filled with the sounds I wanted to capture: leaves blowing in the wind, a gentle stream running, and birds singing above. I set up a small recording studio comprised of a laptop and a Blue Yeti Nano microphone on a tripod, and left it to record for approximately five minutes.
This soundwave is what I would use to create my visual.
Early Development
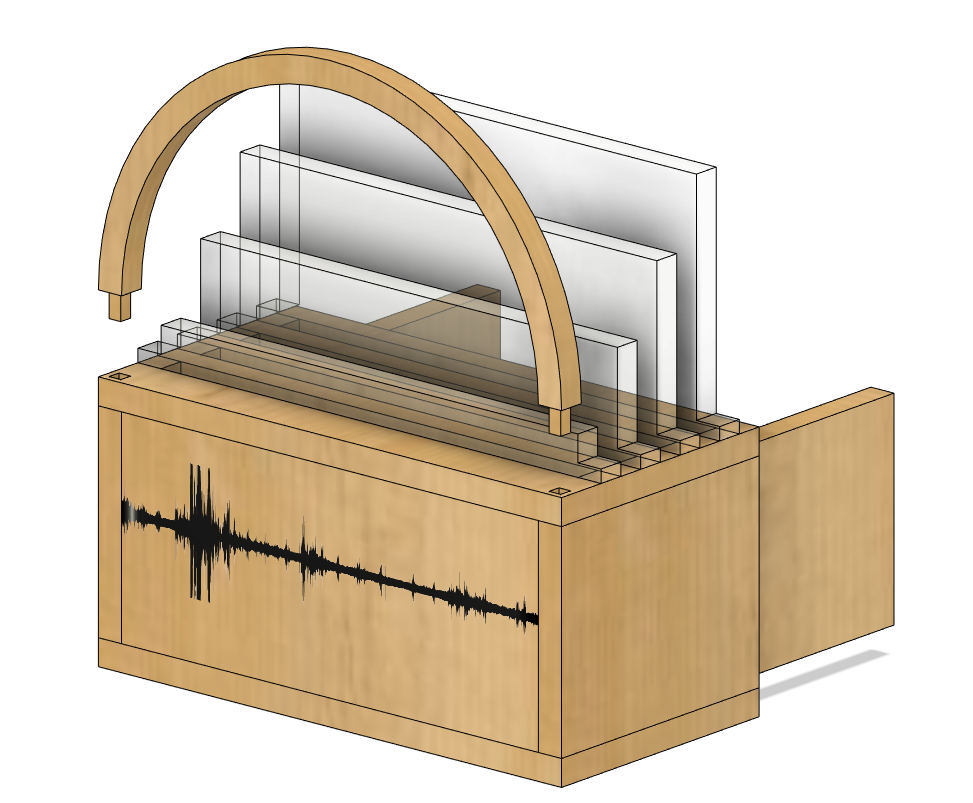
The layered artwork approach, as well as my own experience in theatre, reminded me somewhat of theatrical stage design, and how the decoration of the stage is used to highlight the action taking place.
I wanted the artwork to sit atop something, a sort of small plinth or stage. Early idea generation led to several features of the final design, including some that were cut for the final version. These included the stage arch, which I felt obscured the actual soundwave layered artwork, and a built in speaker system which would play the original sound file. This speaker idea is still something I would have liked to include, but financial restraints prevented me from progressing with it further.
Digital modelling
I began to translate my quick sketch of a soundstage idea into Fusion360, a rough digital prototype to improve upon. Many aspects of this initial concept were carried over into future iterations, such as the slot mechanic to affix the final layered artwork onto the stage (picturered bottom left) and the etch of the original soundwave on the front, to showcase where the artwork came from, and further highlight the connection.
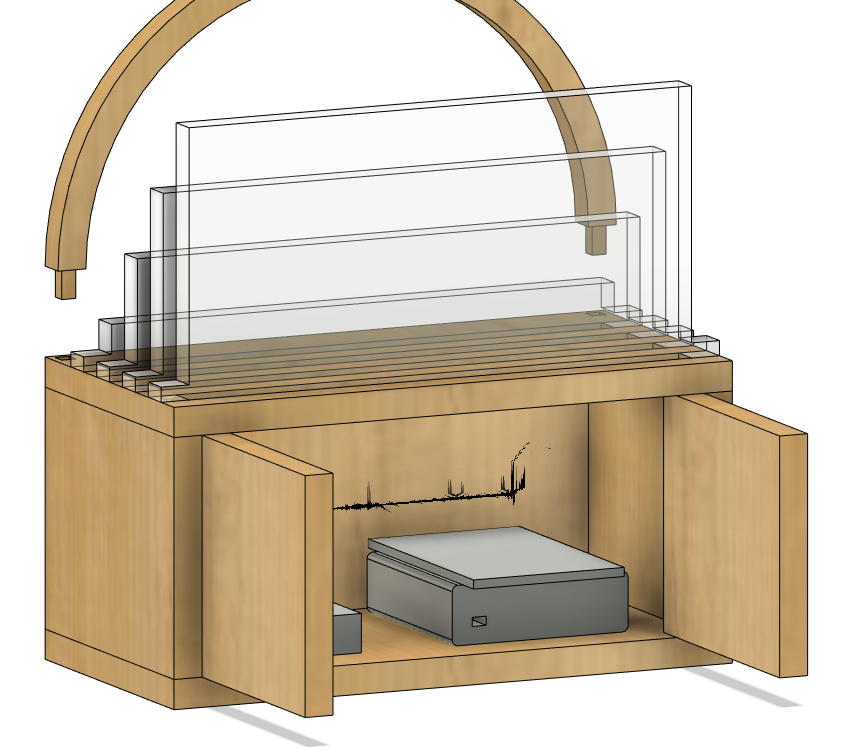
I originally intended to have an opening door at the back to access the possible internal electronics, but this did not progress past this stage of the design process. Additionally, the panels of this box were originally planned to be held together with simple wood glue, something that was changed and improved for the next prototype.
refinement
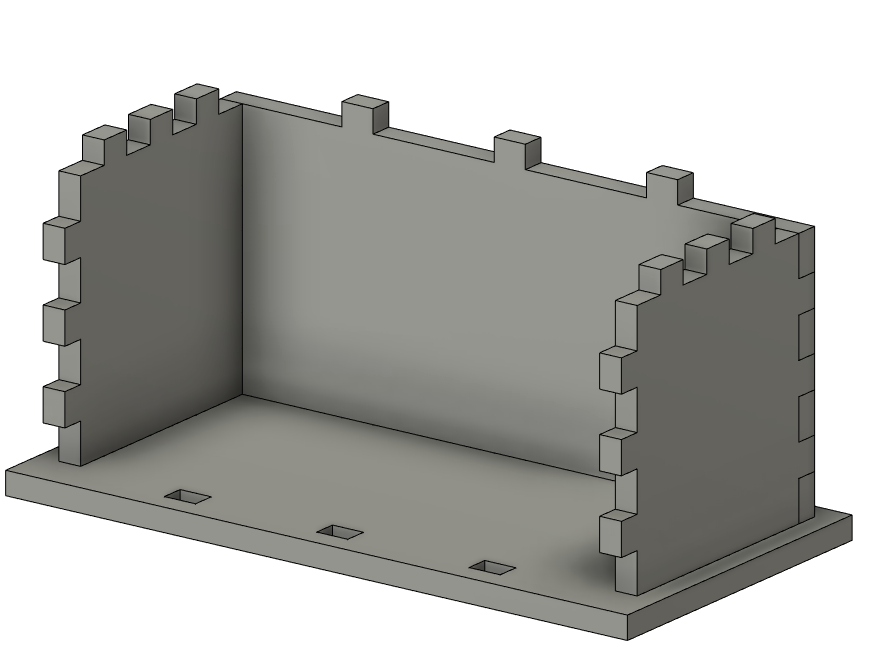
I wanted each and every piece to be able to slot together like a puzzle piece, with no additional adhesives required. The sides of the stage would all slot together, and be held in place by the top and bottom panels of the stage.
I also initially intended to have four pillars, one on each corner of the plinth, but this idea was inevitbly scrapped as I could not consider a simple way to have them also slot in.
Soundwave Artwork
The process of creating the design for the artwork began by examining the soundwave and seperating the crests based on their height. I had set myself five individual layers, tallest and the back and shortestat the front. I split each layer into a separate colour, and began to create shapes following the curves of the soundwave. I did not intend for an exact tracing at any point, instead following the general shape of the soundwave, with some artistic liberty.
From front to back the layers were Grass/Low Hill - Hills - Treeline Front - Mountain + Telstra Tower - Treeline Back. I feel that this final design came out very nicely, and am incredibly happy with the final result. On its own, I believe it stands well as a digital artwork, but the process was not yet complete. Now I had to translate it to the medium of wood.
Final Outcome
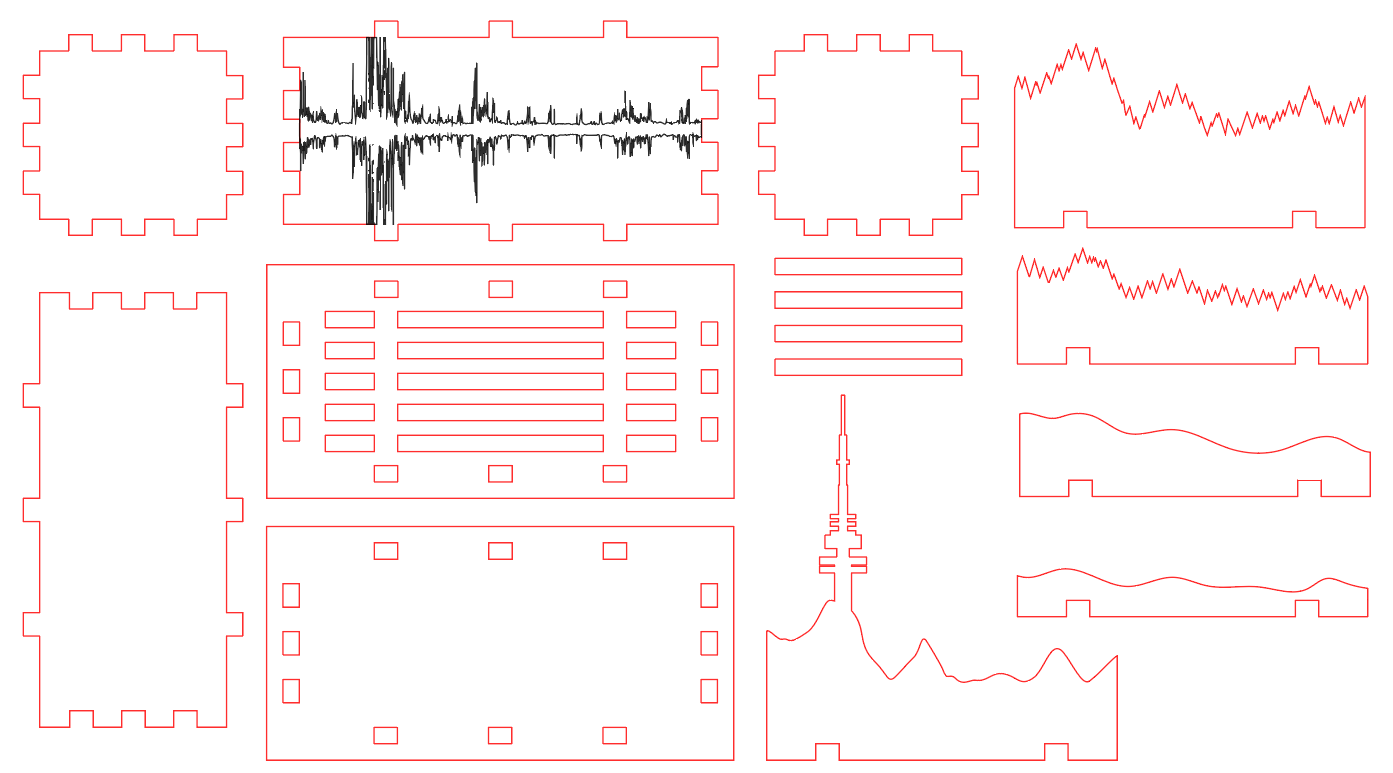
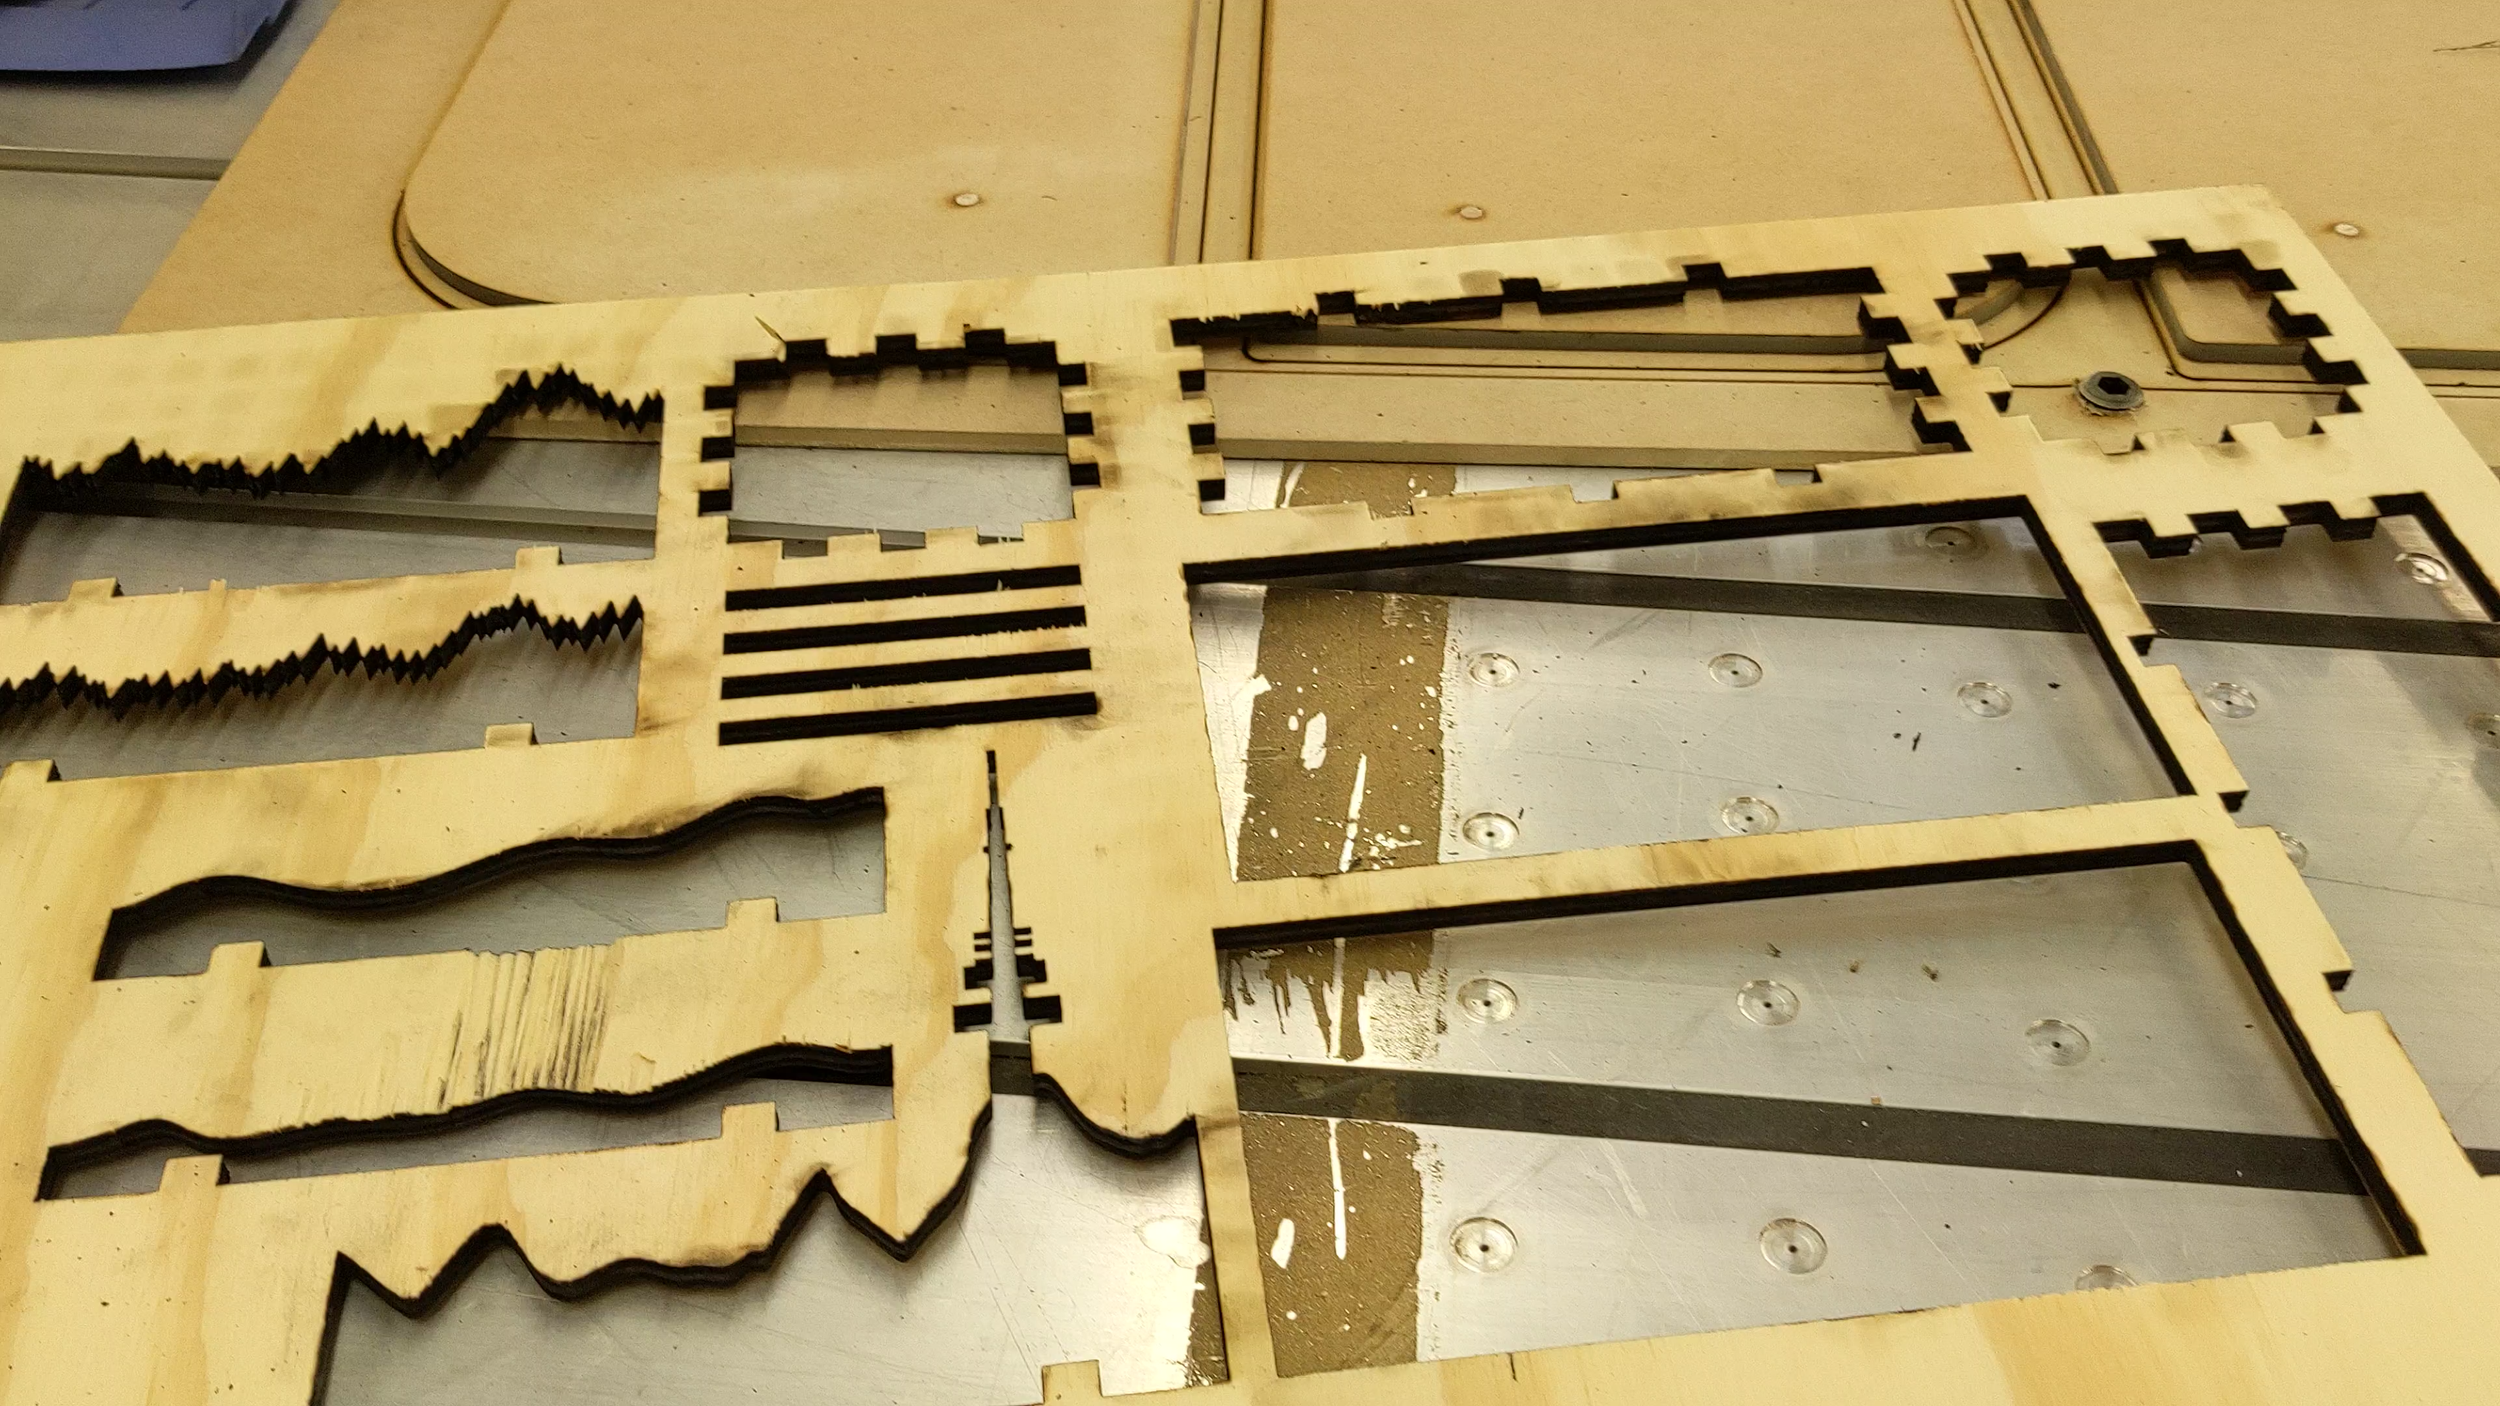
Fabrication went smoothly, for the most part. The design came out in very fine detail, and all of my measurements were correct. The material itself was not of the highest quality, however, and this was evident during fabrication. The laser had to run over the print lines twice to get an even cut, and there was some minor splintering when I was removing the panels from the wood. Had I had additional time, I might have recreated the design with a more premium wood, but this worked well enough.
Additionally, the engraving of the soundwave on the front panel of the stage turned out even nicer than I originally expected. Overall I was very pleased with the fabrication process, as this was my first time using the laser cutter outside of induction, and my first time using wood as a material. I felt that I learnt quite about about materiality in the design process, and the impact material quality can have.


